Lightroom Classic is an essential tool that has revolutionized photo editing for professional photographers and enthusiasts alike. With its comprehensive array of features, this software allows users to organize, edit, and share their images with unparalleled ease and efficiency. Its non-destructive editing capabilities enable photographers to experiment with different artistic styles and adjustments while preserving the original image quality. The seamless integration with Photoshop and the cloud further enhances its versatility, making it a powerhouse in digital photography workflow. Whether adjusting lighting, color, or composition, Lightroom Classic empowers users to bring their creative vision to life with precision and artistic flair.
Class begins March 28th, 5:30-8:00 PM at Pacific Grove Adult School for 10 weeks. Class dates are as follows, 3/28, 4/4, 4/18, 4/25,5/2, 5/9, 5/16, 5/23, 5/30, 6/6 . Fee: $150 or $15 a class or $6 an hour. A bargain. Instructor: Barbara Moon Batista with 15 years experience teaching Lightroom. Register online at https://pgadulted.pgusd.org or call a human at 831-646-6580 M-Th 8-8 PM and Friday 8-4 PM.

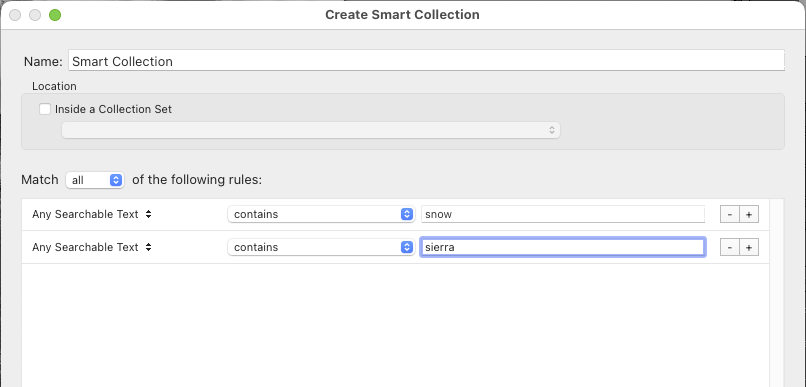
Lightroom Classic Library Module
Basic Photography - Get off Auto. Improve your camera skills. Learn Aperture and Shutter Priority, Depth of Field, Focal Length, Auto Focus, Color Temperature, Composition and more. Weekly assignments, critiques and a field trip.
Class begins on March 26th, 2024, 5:30 - 8:00 PM at Pacific Grove Adult School for 10 weeks. Class dates are as follows: 3/26, 4/2, 4/16, 4/23, 4/30, 5/7, 5/14, 5/21, 5/28, 6/. Fee: $150 or $15 a class or $6 an hour. A bargain. Instructor: Barbara Moon Batista has over 50 years experience as a photographer and 40 years as a photography instructor. Register online at https://pgadulted.pgusd.org or call a human at 831-646-6580 M-Th 8-8 PM and Friday 8-4 PM.